
How to sew fabric sachets, to fill with your favourite herbs and spices.

This is my first proper photo tutorial, I hope you guys find it helpful. It's definitely a beginner tutorial, it's very simple and only requires small amounts of fabric and ribbon. You could even hand stitch them, if you don't have a machine and have more patience than I do! They make perfect scents for drawers, leaving your socks smelling lovely and fresh, or I use them in my yarn and fabric stash to keep the moths away. You could hang them in a wardrobe for the same purpose. They also make cute little stocking fillers, for those of you organised enough to be thinking about Christmas already! This is a quick and simple make, perfect for the odd 20 minute sewing break.
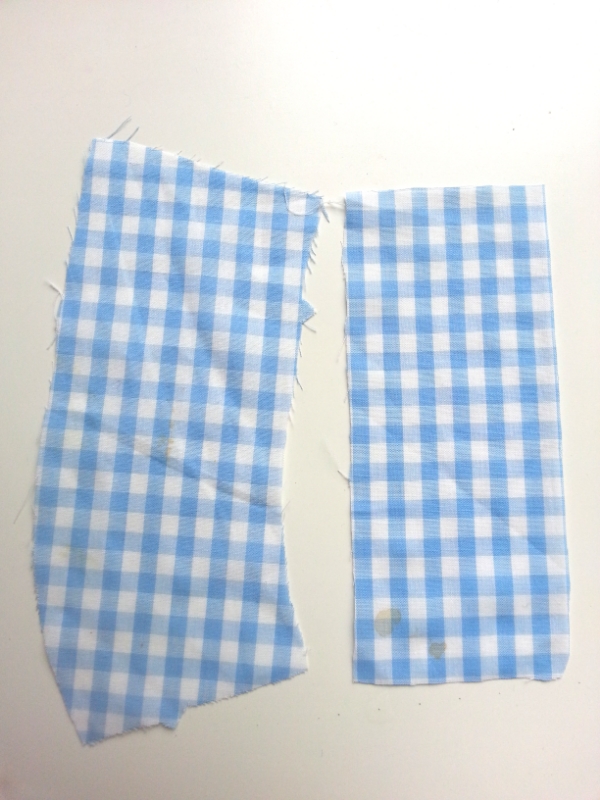
First, cut a rectangle of fabric, approximately 20 by 10cm. You can experiment with the dimensions to get larger, smaller, fatter or thinner sachets. You can see here I'm using off-cuts of material from a failed clothing project, you can cut around stains or cut rectangles out of the oddest shaped bits of material - waste not, want not and all that!
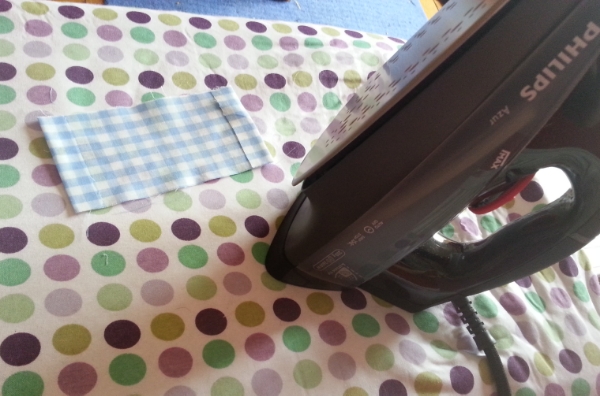
Next, fold down each of the shorter (top) edges of each piece, press and pin in place. These will form the channel for the ribbon.
Note - I am lazy and haven't pinned here. You should. Do as I say, not as I do.
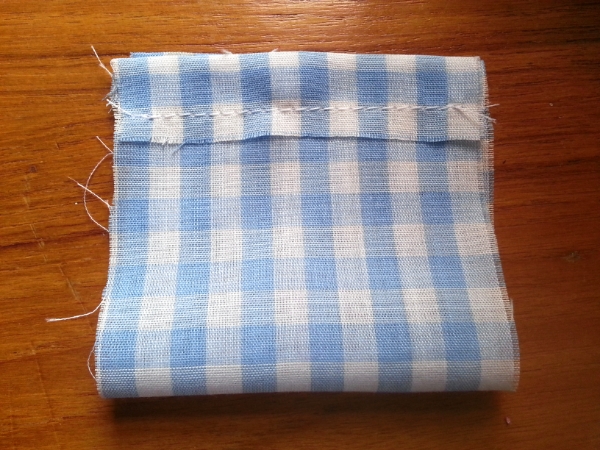
Sew this folded portion down, leaving enough room between your line of stitches and the fold to be able to thread a piece of ribbon through.

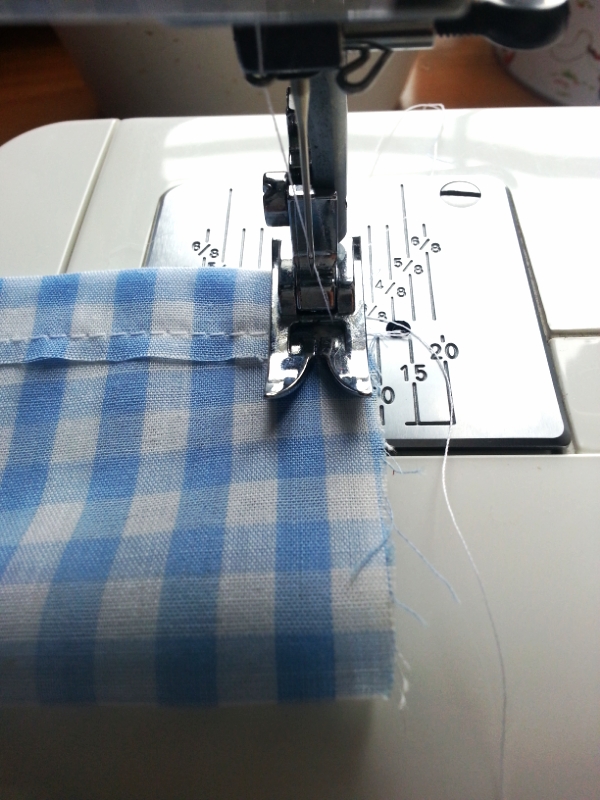
Now, fold your rectangle in half widthways with RIGHT SIDES TOGETHER and the folded edges aligned at the top. Pin the two non-folded edges together and sew, making sure not to sew into or into the folded channel.

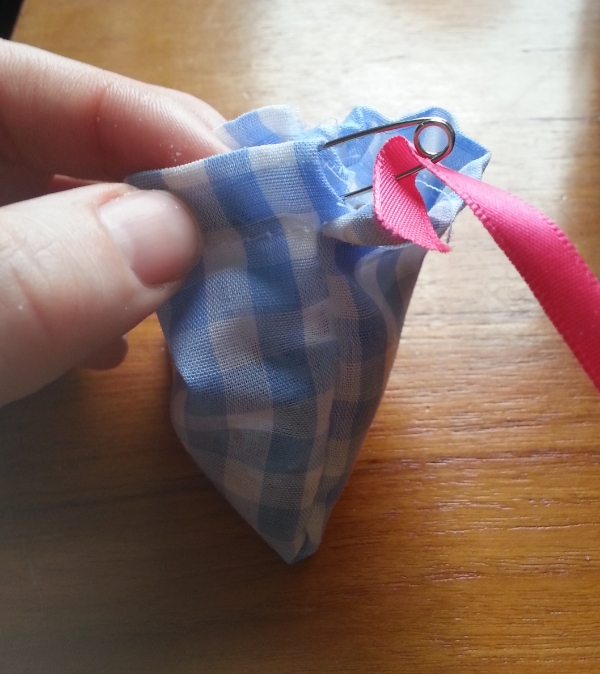
Turn inside out. You should now have a sachet with 2 folded channels running along the top. Take your length of ribbon (you can measure the ribbon length by doubling the width of your sachet and adding on an extra 10cm to tie a bow. The additional length will change depending on how thick your ribbon is, thicker fabric needs more length to tie a bow. Experiment!) and attach a safety pin to one end. Thread the safety pin, dragging the ribbon, through the channels, doubling back on yourself to make a 'U' shape so both ends exit their respective channels on the same side.
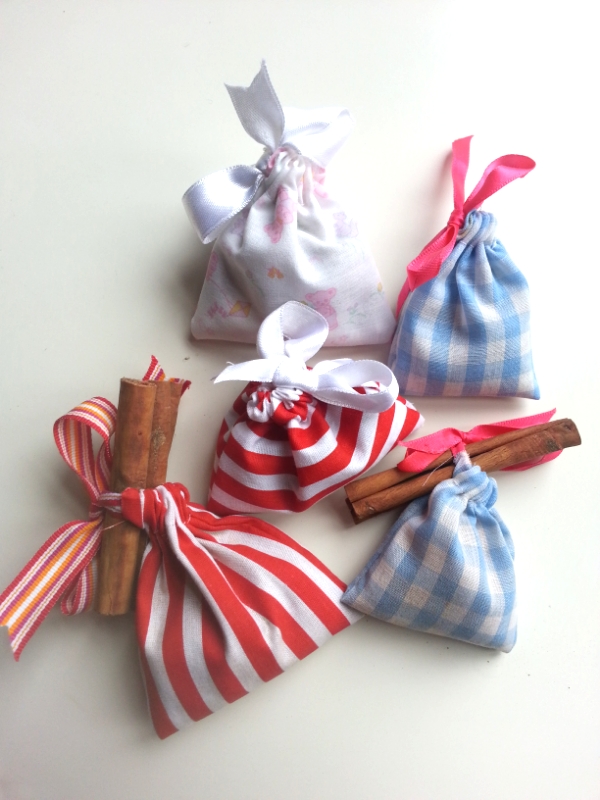
Now, in a bowl, make up the mix of 'smellies' to fill your sachet. For this batch I made two types, lavender and cinnamon. You can experiment with your favourite scents. The lavender was a mix of dried lavender, lavender essential oil and grated plain soap. The dried lavender I bought off a market stall years ago, though you can google for any manner of different shops that sell it. Ebay shops are where I buy a lot of my craft supplies. The cinnamon was a mix of dried cinnamon bark, cinnamon essential oil and soap. I used some decorative cinnamon sticks to embellish the ribbon, though buttons or beads would look good as well. Again, experiment! (can you see a theme developing here?)
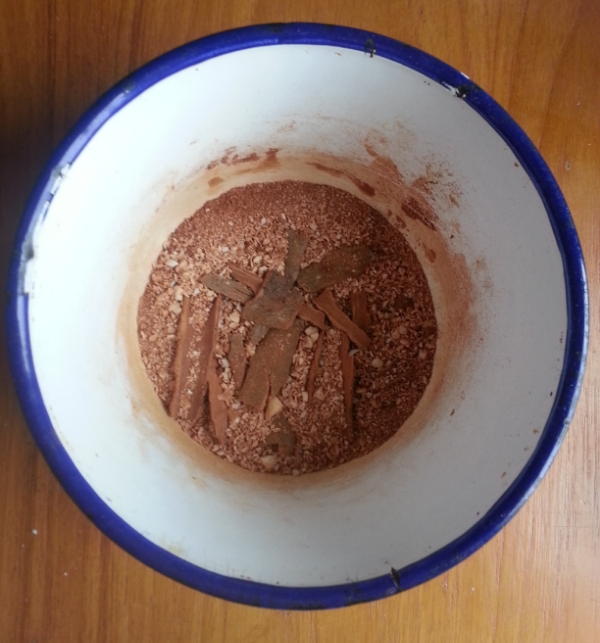
Cinnamon mix
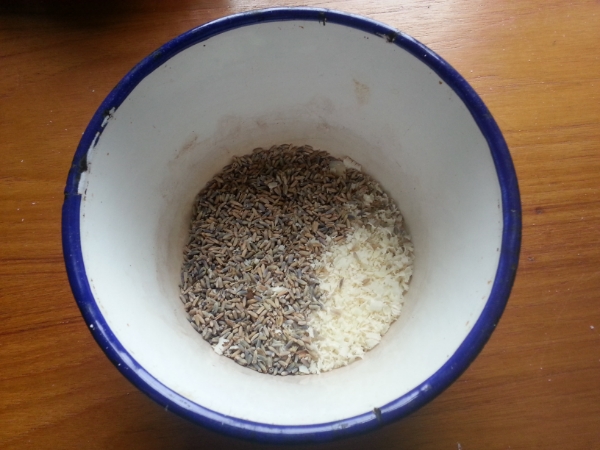
Lavender mix
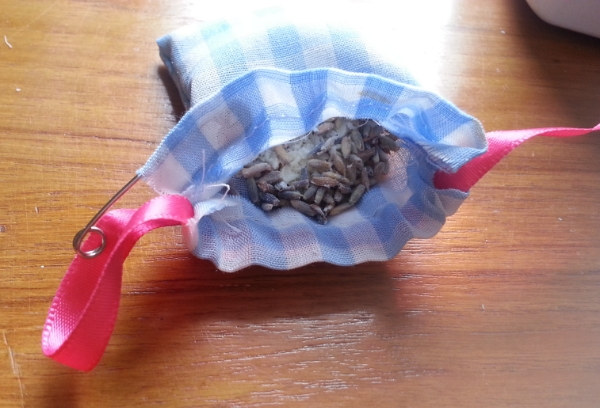
Fill your sachets and pull the ribbon tight to hold the contents inside. I use these in the bath when I want a relaxing, scented bath but don't want bubbles because I want to wash my hair. You can reuse them to scent a bath about 2-3 times before you start to lose the scent, though be careful the contents don't get mouldy, make sure to leave them somewhere to dry thoroughly in between times.
This is an excellent project for using up those little scraps of fabric or ribbon and is super quick and simple, I made about 8 of these in just over an hour. You can make a batch to give to a friend, arranged in a nice tin with some handmade soaps to accompany them. They're a great beginner project if you're just dipping your toe in the sewing waters, or just a 'down and dirty' project for a more accomplished sewer who just wants a quick fix.
Link to your version in the comments, I'd love to see what you guys make!
No comments:
Post a Comment