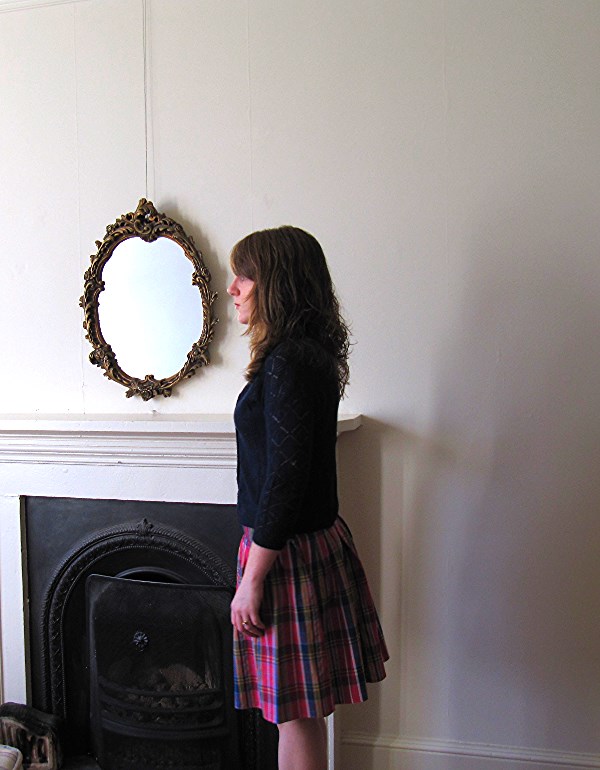
I know it's a little late but here's #secondhandfirst days 6 and 7! I was away visiting my folks that weekend, then spent a couple of days in London, then came back to Edinburgh to my mother in law visiting so it's been a pretty mental but enjoyable week!
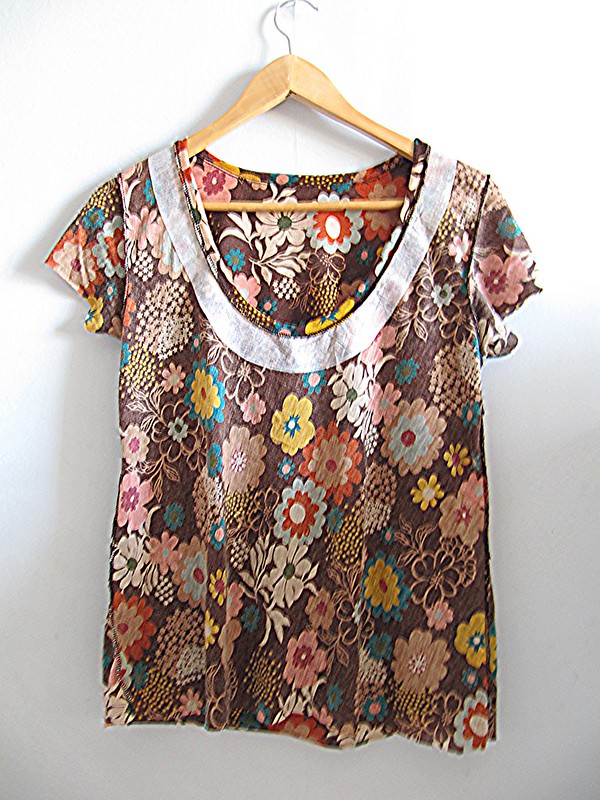
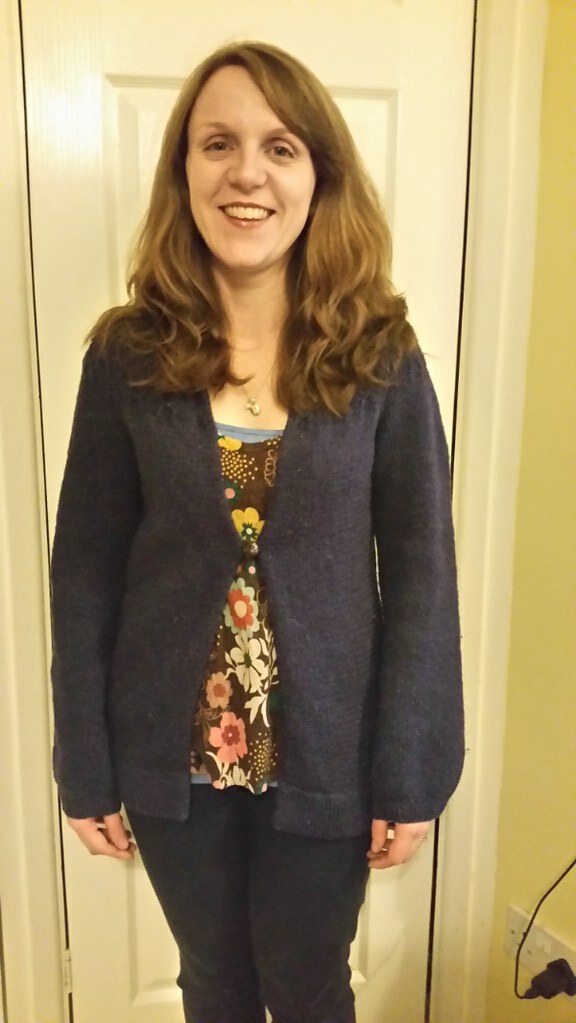
Day 6 - thrifted material-come-handmade t-shirt! So proud of this make, my Dad commented on how much he liked my t-shirt (which almost never happens, I could pretty much wear a bin sack and he wouldn't notice) and I got to say, "I made this!" So proud! Bonus points for handknit cardigan maybe? It's Coraline by Ysolda, you can see my Ravelry notes over here.
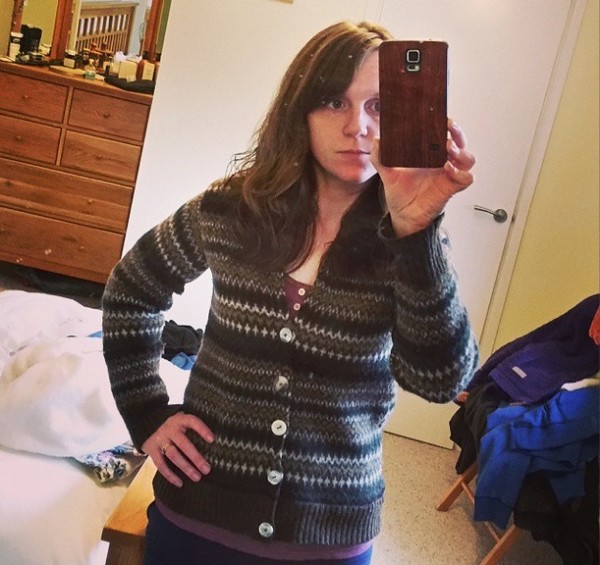
Day 7 - you're probably all completely bored of this make but whatevs, I love it so much. It's my refashion men's fairisle sweater to cardigan and I wear it all the time. I have another sweater lined up to try this again, fingers crossed it's a success the second time round.
Overall, I've really enjoyed #secondhandfirst week from Traid, it's been a good motivation to involve more secondhand in my every day outfits. I haven't been actively thrifting for clothes for me for a while but I went charity shopping with my mother in law this week and found a pair of Gap jeans and a Denim Co check shirt for £7 for the pair. Score! #secondhandfirst has definitely got me firmly back in the thrifting game. It's also made me recognise a few holes in my wardrobe so I now have a list of items to keep my eyes peeled for in the charity shops. A win all round I think.
Saturday, 29 November 2014
Thursday, 20 November 2014
#secondhandfirst - days 3 and 4
I was out last night so here is day 3 and 4 together of Traid's #secondhandfirst week. This week is really making me realise how much use I get out of this green cardigan! I was actually wearing it today but took the photos then realised I would be posting pictures of me wearing it three days in a row...might look a tad unhygienic...I do wash, honest guys!
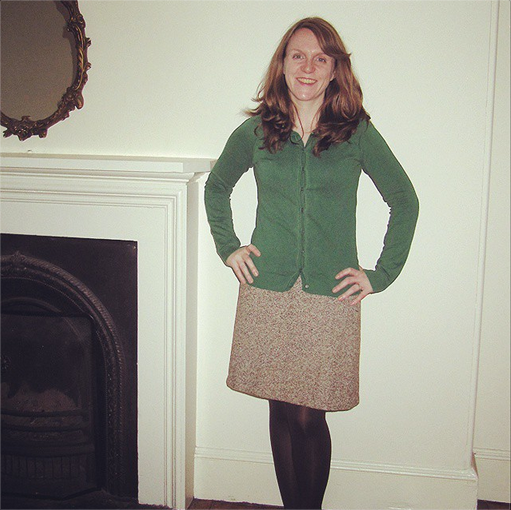
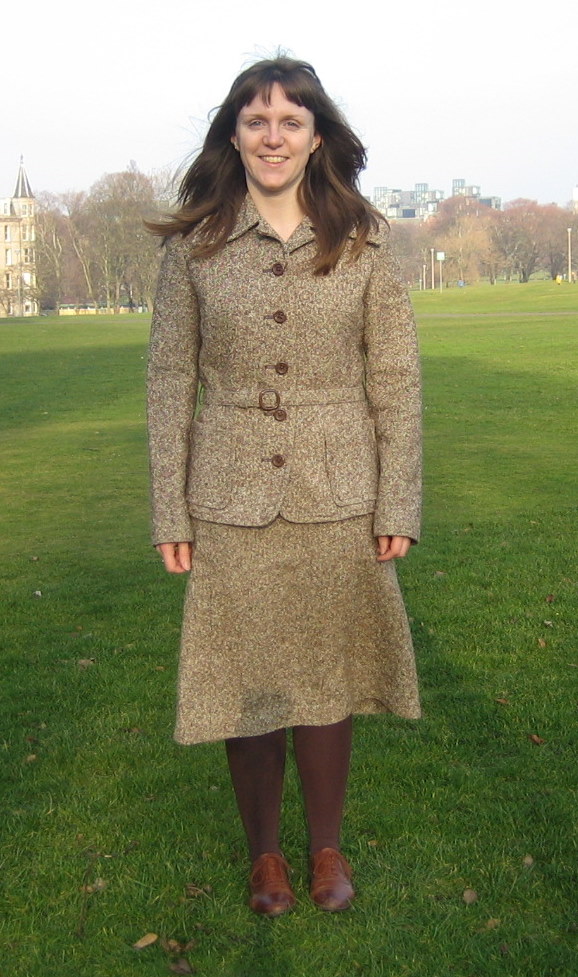
Day 3 - thrifted tweed skirt in lovely autumnal colours. This was another £15 for the skirt and jacket, from the same shop as day 2's skirt. Unfortunately I don't have a before photo for this one, but imagine exactly the same skirt but about 3 inches longer, so hitting just below the knee = super unflattering. It's amazing how such a tiny alteration can make such a big difference to the wearability of a piece of clothing. Again, the same green thrifted cardigan, clearly I need to thrift more cardis to add to my wardrobe.
Day 4 - it was super chilly today so I went with trousers and a sleeveless shirt, with the ubiquitous cardi over the top. You can see the before photo for this shirt over on the original blog post here. I love the colours of this shirt but next time I need to do better maths for calculating the size of the armholes, they're huge and you can totally see side-boob if I don't wear a vest underneath! Not ideal for work. I could have definitely taken this in another inch or so on either side now - the photo makes it look pretty shapeless though I swear it doesn't look that bad in real life. It is definitely too big though but for work, under a scrub top, it looks absolutely fine. I've got more ex-Andrew shirts to alter so practice will make perfect hopefully!
Tuesday, 18 November 2014
#secondhandfirst : day 2
Another day, another badly lit, flash photography selfie! I have new found respect for fashion bloggers, it is difficult to photograph yourself! Not only is the light against you this time of year (unless you work from home or have flexible working hours so can take pictures during the day), I find it really awkward to pose. I guess I've never been hugely comfortable in front of the camera, I don't mind having my photo taken but I'm not a natural and tend to tense up, making for awkward or weird facial expressions or poses. I'm suddenly super aware of what I'm doing with my arms or my hips when I step in front of the camera. Anyone got any tips for how to look less awkward and dorky?!
Anyway, day 2. Back to work today so sporting a thrifted skirt that originally came as part of a set from a charity shop. It was £15 for the jacket and skirt, complete bargain. As you can see from the very unflattering before photo below, the skirt was just that wrong length, mid-calf and totally unwearable. 1 episode of The Killing later, and it was taken up to just above knee, perfect for work. Love a DIY, thrifted project!
Monday, 17 November 2014
#secondhandfirst : day 1
Welcome to day 1 of Traid's #secondhandfirst campaign! For those who've never heard of Traid, you can check out their website over here. The idea of #secondhandfirst is to pledge to wear a proportion of your clothes second hand this week, to raise awareness of the damage of our disposable fashion society, both socially in the developing world and environmentally here at home.
This is a subject about which I feel especially passionate. I try to buy as much of my wardobe as possible second hand and when I can't buy second hand, I try to buy responsibly made and ethically produced. I'm trying to invest more in good quality, ideally British made items that will last a life time and supplement these purchases with second hand clothing. Being able to alter or make my clothes offers up a variety of thrifting opportunities, some of which you'll see this week!
Taken straight from Traid's website:
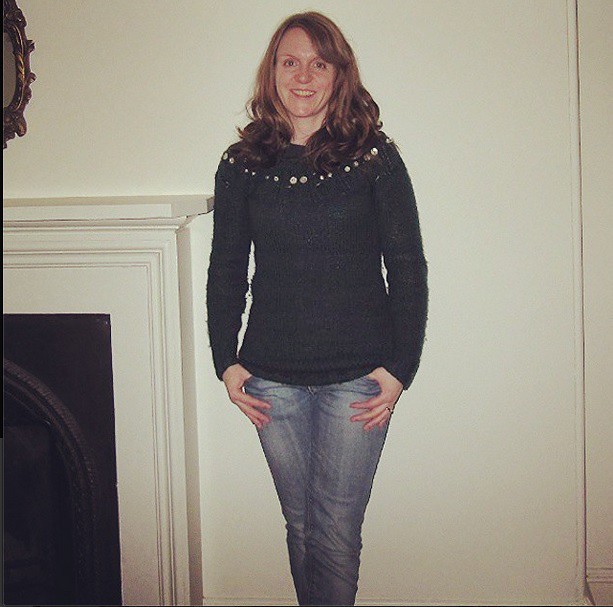
Outfit stats: Firetrap jeans thrifted from Shelter. Handknit by me Kate Davies Owls sweater.
This is a subject about which I feel especially passionate. I try to buy as much of my wardobe as possible second hand and when I can't buy second hand, I try to buy responsibly made and ethically produced. I'm trying to invest more in good quality, ideally British made items that will last a life time and supplement these purchases with second hand clothing. Being able to alter or make my clothes offers up a variety of thrifting opportunities, some of which you'll see this week!
Taken straight from Traid's website:
TRAID is a charity working to stop
clothes from being thrown away. We turn clothes waste into funds and resources
to reduce the environmental and social impacts of our clothes. It is a circular
and sustainable approach to the problems of clothes waste tackling disposal,
production and consumption by:-
o Increasing clothes reuse across the
UK reducing waste, carbon emissions and consumption
o Funding international development
projects to improve conditions and working practices in the textile industry
o Educating people of all ages about
the impacts of textiles on the environment and people’s lives, and how we can
make more sustainable choices
Without further ado then, my first contribution to #secondhandfirst. I pledged 20% of my wardrobe secondhand this week, meaning essentially 1 second hand item a day. Unfortunately, due to dark wintery weather and long work days, expect to see a lot of flash photography this week!Outfit stats: Firetrap jeans thrifted from Shelter. Handknit by me Kate Davies Owls sweater.
Wednesday, 12 November 2014
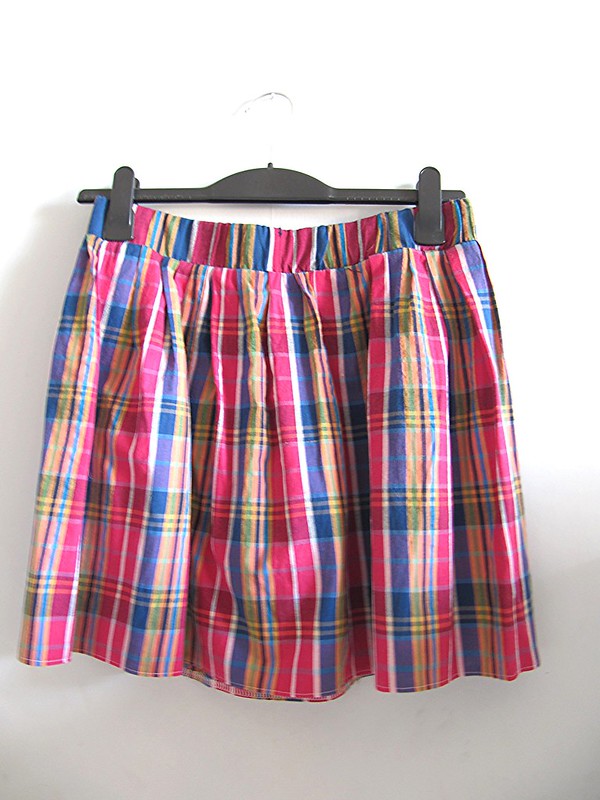
Stripy handmade skirt and #secondhandfirst
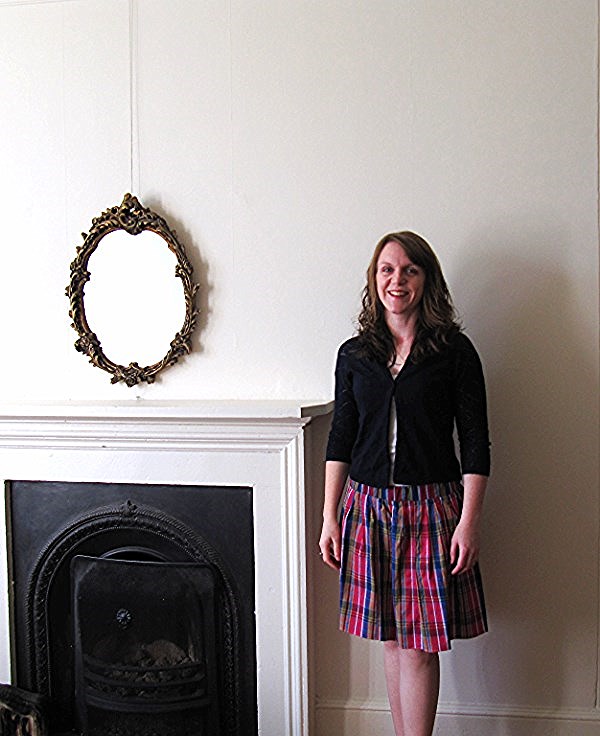
I made a skirt! I'm super proud of this make, my first skirt AND my first outing with my overlocker. I made it with the honeymoon in mind, but since that never really happened, it's not really had a huge amount of use so far this year sadly, it got cold too quickly for a thin summer skirt. I could definitely wear it with brown tights and boots though, I need to trial that on our next date night, I have the perfect pair of vintage cowboy boots...
The fabric is a thin cotton my brother brought back for me from Thailand a few years ago. He brought me back 2 pieces of fabric he bought off a market stall (plus a handheld sewing machine that was the dodgiest thing you ever saw!) and they both sat in my stash until one day I decided to make a skirt for the honeymoon. I was digging through the stash for something to use and came across this candy stripe fabric and a lightbulb came on. An energy saving lightbulb, obviously.
I used this 'How to make a gathered skirt' tutorial, found via Pinterest (feel free to follow me, click the widget at the bottom or search for 'Craft and Thrift'). It was super simple, though the fabric wasn't wide enough to cut one full strip with the stripes all going vertically, so I cut it in two pieces and sewed it together along a stripe.
I already had the elastic in my stash and since the pattern was free, this was a completely free make. Love a shop-my-stash make, it feels very thrifty.
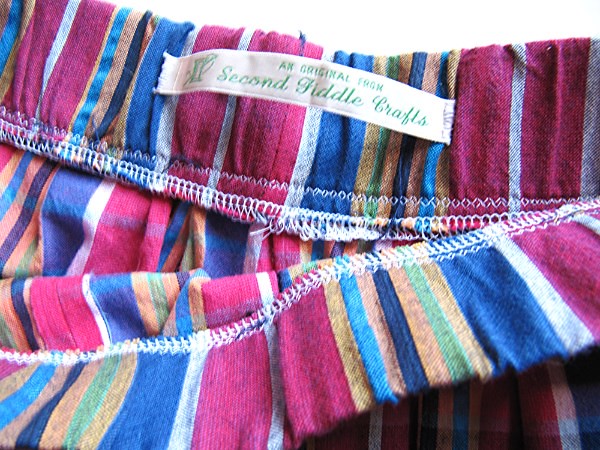
Check out those tidy overlocker innards. I'm still using up the old craft labels but I do like how they give a little professional touch to a make.
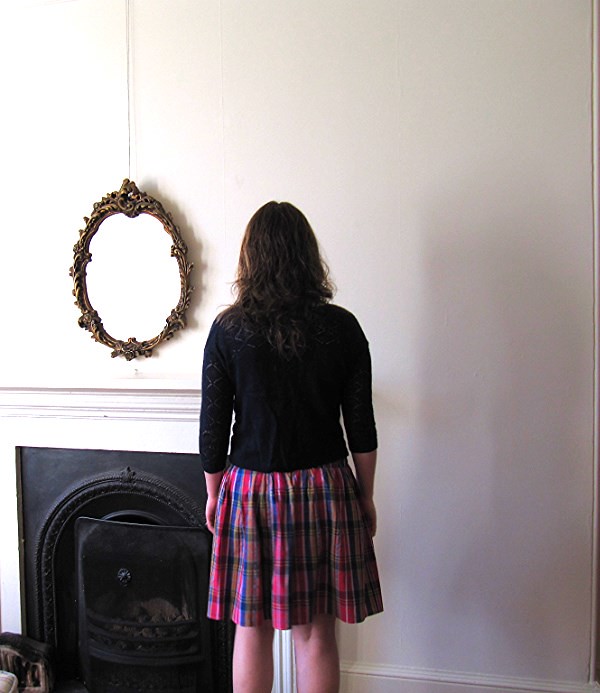
Apologies for the shonky, inside, tripod photos, I'm still learning all the tricks for self-photography. Next week is Traid's #SECONDHANDFIRST week and I'm pledging to wear 20% of my outfits second hand so expect an outfit post a day documenting my progress. This will help me with my tripod shots (practice makes perfect!), encourage me to finish up some DIYs on thrifted clothing so I can actually wear them AND help promote a good cause. I'm looking forward to the challenge!
Wednesday, 5 November 2014
Tessuti Fabric Lola tee from stash jersey
Remember when I won a sewing competition?! I chose Tessuti Fabric's Lola t-shirt thinking it would be a nice easy introduction to sewing with jersey or knit fabric and using my overlocker...and I was not wrong!
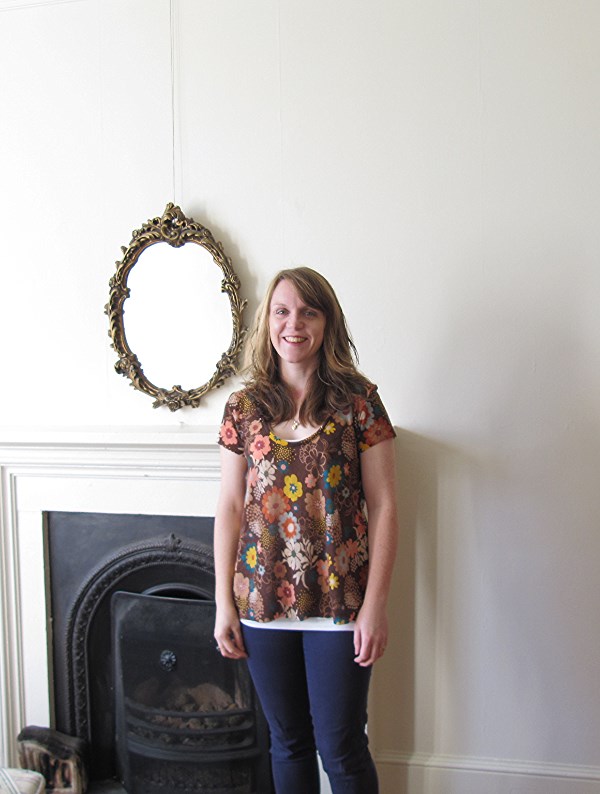
Described by the designers as follows:
The summer Lola Tee Top flares slightly at the hips and features a scoop neckline and cap sleeves. Stylish and contemporary in design, the Lola is a wardrobe winner and is best made up in light to medium weight cotton knits as well as viscose and t-shirt weight jerseys.
It was a lovely easy pattern to use, only 10 steps from start to finish and super easy instructions, complete with photograph pictures to illustrate the descriptions. What slightly threw me to begin with was the hand-drawn nature of the pattern, it looks literally hand drawn and hand written with the instructions on the pattern pieces, but the outcome is the same; you know what to cut where and what to do with it at each stage. I guess in sewalongs I've seen on blogs using indie designer patterns, all the pictures have shown computer printed pattern pieces so I was expecting something of that nature. Not an issue with the final pattern or item of clothing produced at all, just not quite what I was expecting!
I was expecting a battle with the binding round the neckline, after reading of other blogs describing similar patterns ending up with saggy necklines. In reality the maths worked out perfectly and my neckline was overlocked like a dream.
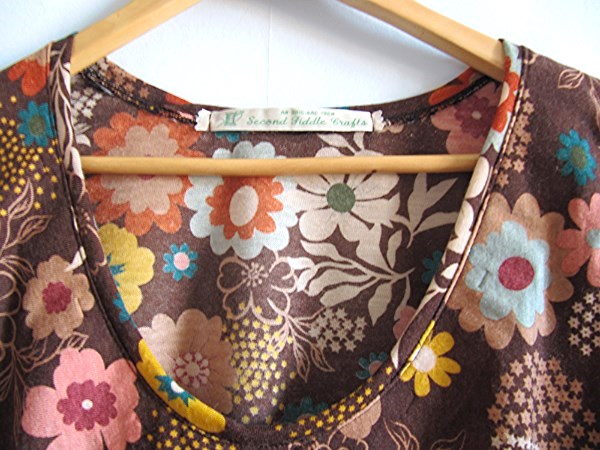
I altered the 'twin needle' overstitching step to 'stitching with regular straight stitch on my sewing machine because to be honest, I haven't got to the twin needle part of my overlocker instruction manual yet and between the 'sewing from a pattern, 'sewing with jersey' and 'sewing with my overlocker' mental steps to overcome, I wasn't going to add 'working out what the fuck a twin needle is' to the list. I made sure to catch the underlying overlocker seam into my straight stitch, since that was the ultimate outcome to that particular step in the pattern.
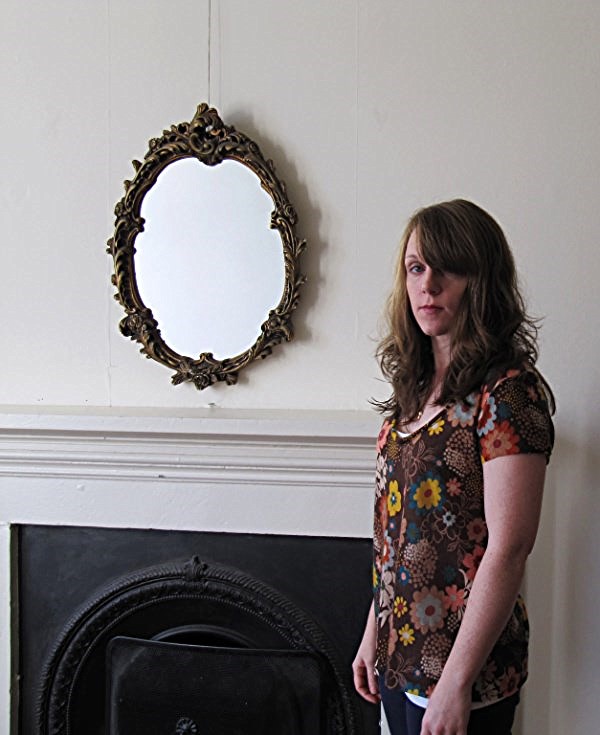
I left the bottom hem and sleeves unfinished, as this was one of the ways to finish the pattern. Next time I'll hem them, just to compare and see what difference it makes to the t-shirt.
I'm currently wearing said tee, after a cinema/dog walk/pub date with Andrew on my day off. I can attest to it being comfortable and easy to throw on over a vestie (and under a handknit, hello Owls!). I cut a size S based on my measurements but to be honest, it's too big all over, meaning I have to wear it with a vestie underneath or risk flashing mah baps every time I bend over. Next time I'll cut an XS and see how that compares.
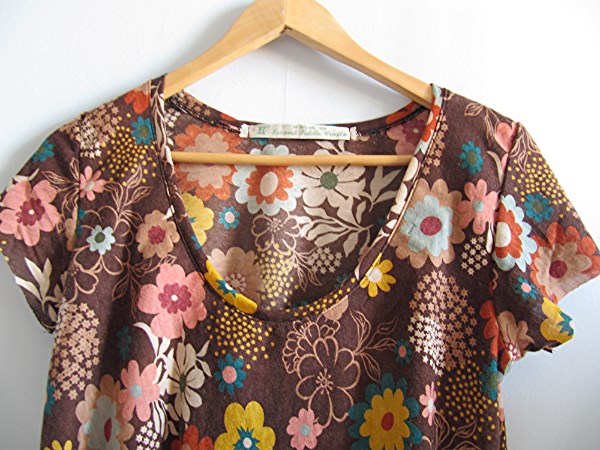
Super proud of the neckline though, as flat as linoleum. Boo yah! I talk about the choice of fabric over here if you're interested.
Overall, a definite make again! I could see this is in a range of colour combinations and weights of jersey. Other than one minor error (seen here on Instagram) where I cut a hole in an armpit with my overlocker, I had no issues with the serger and would definitely use it again, so quick and easy! This is also my first item of clothing photographed myself using a tripod, I'm hoping to upgrade to outdoor pictures once I master the art of self-imaging but for the moment wanted to confine my embarrassing running-to-and-fro to my bedroom. Hope you enjoyed my working fireplace and vintage mirror though!
Described by the designers as follows:
The summer Lola Tee Top flares slightly at the hips and features a scoop neckline and cap sleeves. Stylish and contemporary in design, the Lola is a wardrobe winner and is best made up in light to medium weight cotton knits as well as viscose and t-shirt weight jerseys.
It was a lovely easy pattern to use, only 10 steps from start to finish and super easy instructions, complete with photograph pictures to illustrate the descriptions. What slightly threw me to begin with was the hand-drawn nature of the pattern, it looks literally hand drawn and hand written with the instructions on the pattern pieces, but the outcome is the same; you know what to cut where and what to do with it at each stage. I guess in sewalongs I've seen on blogs using indie designer patterns, all the pictures have shown computer printed pattern pieces so I was expecting something of that nature. Not an issue with the final pattern or item of clothing produced at all, just not quite what I was expecting!
I was expecting a battle with the binding round the neckline, after reading of other blogs describing similar patterns ending up with saggy necklines. In reality the maths worked out perfectly and my neckline was overlocked like a dream.
I altered the 'twin needle' overstitching step to 'stitching with regular straight stitch on my sewing machine because to be honest, I haven't got to the twin needle part of my overlocker instruction manual yet and between the 'sewing from a pattern, 'sewing with jersey' and 'sewing with my overlocker' mental steps to overcome, I wasn't going to add 'working out what the fuck a twin needle is' to the list. I made sure to catch the underlying overlocker seam into my straight stitch, since that was the ultimate outcome to that particular step in the pattern.
I left the bottom hem and sleeves unfinished, as this was one of the ways to finish the pattern. Next time I'll hem them, just to compare and see what difference it makes to the t-shirt.
I'm currently wearing said tee, after a cinema/dog walk/pub date with Andrew on my day off. I can attest to it being comfortable and easy to throw on over a vestie (and under a handknit, hello Owls!). I cut a size S based on my measurements but to be honest, it's too big all over, meaning I have to wear it with a vestie underneath or risk flashing mah baps every time I bend over. Next time I'll cut an XS and see how that compares.
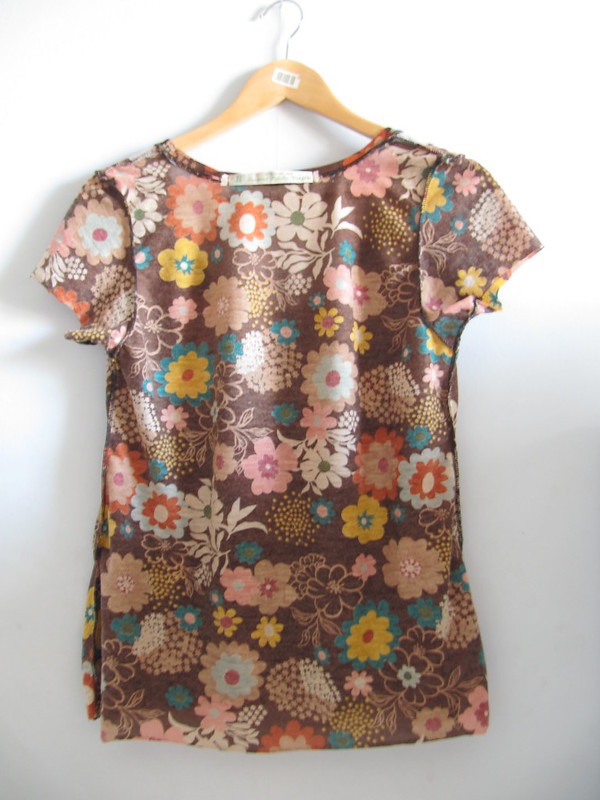
Super proud of the neckline though, as flat as linoleum. Boo yah! I talk about the choice of fabric over here if you're interested.
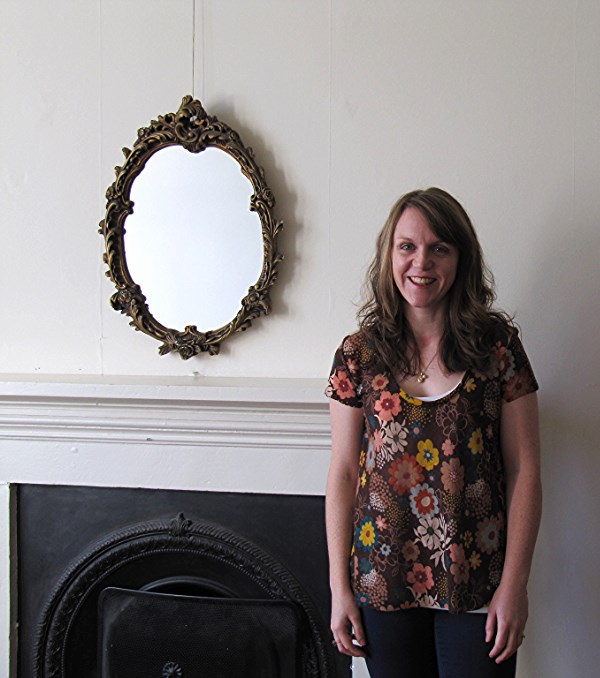
Overall, a definite make again! I could see this is in a range of colour combinations and weights of jersey. Other than one minor error (seen here on Instagram) where I cut a hole in an armpit with my overlocker, I had no issues with the serger and would definitely use it again, so quick and easy! This is also my first item of clothing photographed myself using a tripod, I'm hoping to upgrade to outdoor pictures once I master the art of self-imaging but for the moment wanted to confine my embarrassing running-to-and-fro to my bedroom. Hope you enjoyed my working fireplace and vintage mirror though!
Subscribe to:
Posts (Atom)